I was mid-way through assembling a miniature diorama of a vintage Leica camera—using a tiny lens from an old broken tripod—when my heavy tripod decided to take a dive, leaving a jagged, unsightly crater in my studio wall. It’s that sudden, jarring moment of realization where your creative sanctuary feels suddenly compromised. Most people think you need a massive construction crew or a specialized contractor to handle something like this, but that’s a total myth. Learning how to repair a dry wall hole is actually much more like retouching a high-resolution photo; it’s all about the precision of your tools and the patience of your layers to ensure the final texture is perfectly seamless.
I’m not here to give you a lecture filled with confusing construction jargon or tell you to buy a whole warehouse of supplies. Instead, I’m going to walk you through a streamlined, technical approach to getting your walls back to their original glory. I’ll show you the exact, no-nonsense steps to patch, sand, and finish that space so effectively that it becomes a ghost in the machine—completely invisible to the naked eye. Let’s get into the technical details and fix this.
Guide Overview
Tools & Supplies
- Putty knife (for applying compound)
- Sanding sponge (for smoothing surfaces)
- Utility knife (for trimming edges)
- Spackling compound (1 small tub)
- Adhesive wall patch (1 piece)
- Sandpaper (medium grit)
- Touch-up paint (1 small can)
Step-by-Step Instructions
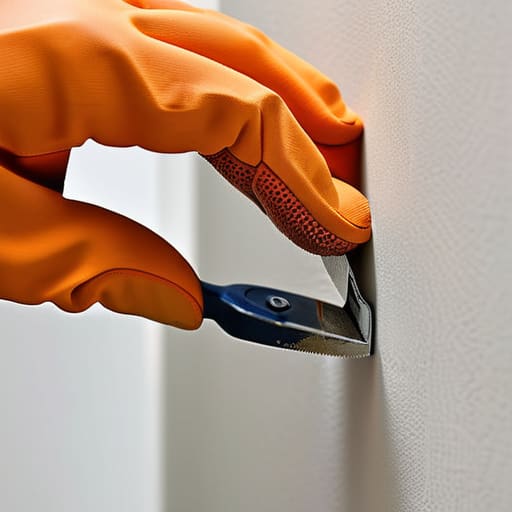
- 1. First, I like to think of this as the “pre-production” phase. You can’t get a clean shot if the subject is messy, so grab a utility knife and carefully trim away any frayed edges or loose bits of paper around the hole. You want a clean, crisp perimeter so the patch has a solid foundation to sit on, rather than trying to build on top of crumbling debris.
- 2. Next, you need to choose your “lens”—or in this case, your patch. For a tiny nick, a bit of lightweight spackle works wonders, but if you’re looking at a larger gap, I highly recommend using a self-adhesive mesh patch. Think of it like setting up your tripod; it provides the structural stability you need to ensure the repair doesn’t sag or fail once you start applying the heavy lifting.
- 3. Now, it’s time to apply the compound. Using a putty knife, spread your joint compound over the patch in thin, even layers. I always tell myself to treat it like applying a subtle filter to a photo—you don’t want to go too heavy all at once. Aim for a smooth, feathered edge that blends the compound into the surrounding wall, making the transition as seamless as possible.
- 4. Once that first layer is on, you’ll need to let it dry completely. This is the hardest part for a tinkerer like me because I want to see the results immediately, but patience is key. If you rush it, you’ll end up with micro-cracks that look like digital noise in a high-ISO shot. Let it sit until it’s bone dry and looks uniform in color.
- 5. Now comes the “post-processing” stage: sanding. Take a fine-grit sanding sponge and lightly buff the area until the patch is perfectly level with the rest of the wall. You’re looking for a flawless, tactile transition where you can’t feel the edge of the repair even with your eyes closed. If you feel a bump, just keep sanding gently; it’s all about that precision.
- 6. Before you even think about touching a paintbrush, give the area a quick wipe with a damp cloth to remove every last speck of dust. Any leftover grit will act like sand in a camera gear mechanism, causing your paint to clump or peel. You want a pristine, de-dusted surface so the finish looks professional.
- 7. Finally, it’s time for the color grade. Apply your primer first to seal the porous compound, and then follow up with your wall paint. For the best results, use a small roller to mimic the existing texture of the wall. If you use a brush on a textured wall, the repair will stand out like a glaring error in a high-resolution render, so match the pattern of the surrounding area to achieve that perfect, invisible finish.
Mastering the Precision of a Drywall Patch Kit for Small Holes
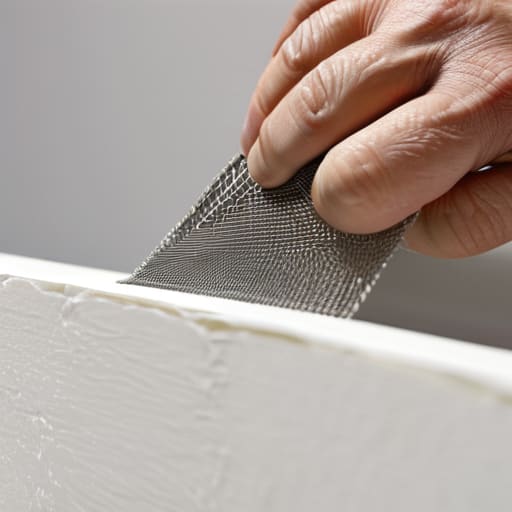
When you’re dealing with those pesky, accidental punctures, grabbing a drywall patch kit for small holes is a total game-changer. I like to think of it much like setting up a macro shot; you need the right miniature tools to handle the fine details. Instead of trying to wing it with a massive bucket of mud, these kits provide a controlled environment. The secret lies in the drywall mesh tape application. If you don’t get that mesh seated perfectly flush against the edges of the hole, you’re essentially inviting a structural flaw into your composition. It needs to be taut and centered, providing a stable foundation for everything that follows.
Once the patch is secure, the real artistry begins with learning how to use joint compound effectively. You want to apply it in thin, translucent layers rather than one heavy, gloopy mess. Think of it like layering digital filters—build the depth gradually. When it comes to the final finish, your drywall sanding techniques will determine whether the repair is invisible or a glaring eyesore. Use a fine-grit sponge and light, circular motions to avoid gouging the surface. It’s all about that seamless transition between the patch and the original texture.
The Technical Harmony of Joint Compound and Drywall Mesh Tape Application
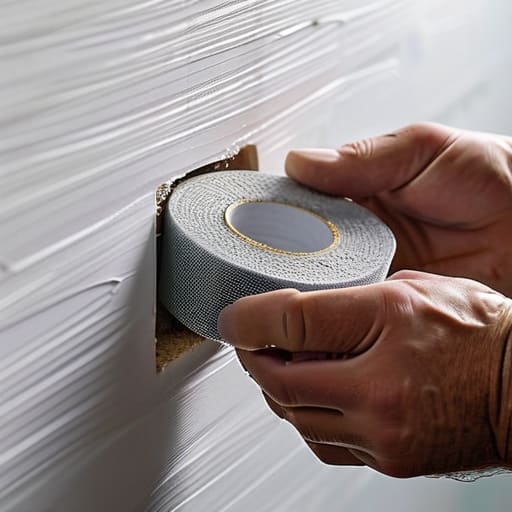
Think of the relationship between your mesh tape and the compound like the way a lens element interacts with light—it’s all about finding that perfect, seamless integration. When you’re working on drywall mesh tape application, the goal isn’t just to cover the gap, but to create a structural bridge that prevents future cracking. I like to think of the tape as the “sensor” of your repair; if the foundation isn’t laid correctly, the final image—or in this case, your wall surface—will always look distorted. Press the tape firmly into the opening to ensure there are no air pockets, as even a tiny void can disrupt the smooth finish you’re aiming for.
Once the tape is set, learning how to use joint compound becomes a lesson in patience and texture. Instead of trying to fill the entire void in one heavy-handed go, apply it in thin, translucent layers. It’s very much like layering digital filters in post-processing; you want to build depth and coverage gradually rather than overwhelming the canvas. If you overwork the wet mud, you risk losing that crisp edge, so aim for a light, sweeping motion that feathers the edges out into the surrounding wall.
The Fine-Tuning Phase: Pro-Tips for a Seamless Finish
- Think of sanding like adjusting the ISO on a camera—if you go too aggressive, you’ll introduce noise. Use a fine-grit sanding sponge to smooth out the edges of your compound, working in light, circular motions to avoid deep scratches that show up under harsh lighting.
- Lighting is your best friend here. Just like I use a ring light to catch every detail in a macro shot, use a side-angled flashlight or a work lamp against your patch. This “raking light” will reveal tiny bumps or depressions in the drywall that you’d otherwise miss in normal room light.
- Don’t rush the “exposure” time. I know it’s tempting to layer more compound to hide a deep hole, but it’s better to apply multiple thin, translucent layers than one thick, heavy one. Thick layers tend to crack and sag, much like a digital image that’s been over-processed and lost its detail.
- Match your texture like you’d match a color profile. If your walls have a slight “orange peel” texture, don’t leave your patch perfectly flat and smooth, or it will stand out like a sore thumb. Use a damp sponge or a specialized texture spray to mimic the surrounding wall’s grain.
- The final “post-processing” step is the most crucial: priming. Never skip the primer! If you paint directly over the new compound, the patch will absorb the moisture differently than the rest of the wall, leaving a dull, matte spot that ruins the visual narrative of your room.
The Final Polish: Bringing Your Space Back to Life
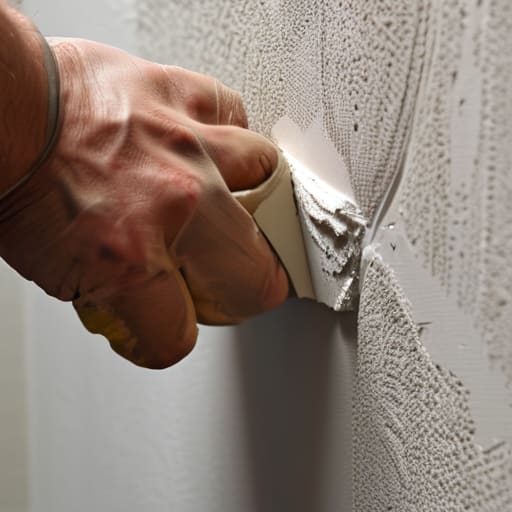
Taking a hole in your wall from a glaring eyesore to a seamless surface is a lot like post-processing a RAW image file; it requires patience, the right sequence of steps, and a keen eye for detail. We’ve walked through everything from selecting the perfect patch kit for those pesky small punctures to mastering the technical application of joint compound and mesh tape. By focusing on the structural integrity of your repair and ensuring your layers are thin and even, you aren’t just covering up a mistake—you are restoring the visual flow of your environment. Remember, the secret to a professional finish isn’t just the materials you use, but the precision of your technique during those final sanding stages.
At the end of the day, these little DIY projects are more than just home maintenance; they are opportunities to engage with the world around us through a lens of creation rather than frustration. Just as I might repurpose an old Leica lens to find new light, you are taking a broken element of your home and using technical skill to make it whole again. Don’t let a small imperfection dampen your creative spirit or your pride in your space. Embrace the process, trust your hands, and remember that mastering the small details is exactly how we build a life—and a home—that feels truly complete and beautiful.
Once you’ve nailed that seamless finish, it’s tempting to dive straight into the decorating phase, but I’ve learned that the real magic happens when you treat the surface like a blank canvas waiting for the right light. Just as I carefully calibrate the exposure on my vintage lenses to ensure every detail pops, you want to make sure your texture is consistent before you even think about picking up a paintbrush. If you find yourself needing a little extra inspiration or a community to bounce your creative home-improvement ideas off of, I’ve found that connecting with others through a social chat France can be a surprisingly effective way to discover unexpected design hacks and keep that momentum going.